So, like just about every other period piece loving, heterosexual cis female in the world, I have recently binged the newest season of Bridgerton. Even before the concept of “binge shows” was a thing, I was always one to become a little too obsessed with the television shows and movies I watched. For example, when I was little and the 2001 animated movie Atlantis: The Lost Empire came out, I remember losing sleep for nights after watching it. I was so enamored with the main heroine, Kida, and the way she showed Milo her world. She was a total baddie, and I thought Milo’s early 1900s nerdy vibe adorable. One might say that’s where my obsession with period pieces came from, as a matter of fact. The idea that a two worlds frozen in time could collide that was more than my seven year old brain could comprehend.
Much like the writing, story telling, and visual elements (the cinematography is great, too) of Bridgerton, I love to consume it all, eat it up, and become temporarily obsessed. Food has been a really fantastic way to help me feel I “consume” more of the things that I love: of travel, of history, of cultures outside of my own, and of learning. So, fast forward to me scouring the internet for inspiration yesterday while Shonda’s Regency Era masterpiece played in the background. Then it hit me: Victorian Sponge Cake.

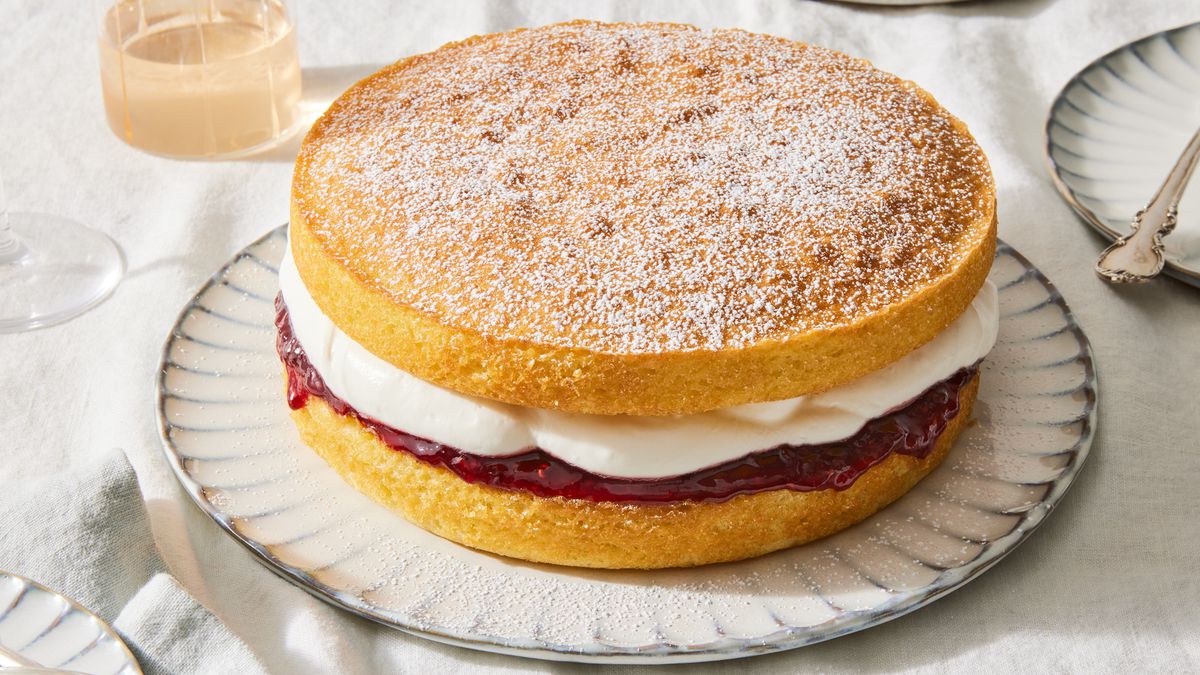
Photo from Food52, Jessie Sheehan: Photo By Rocky Luten, Prop Stylist: Alya Hameedi. Food Stylist: Yossy Arefi.
Any fan of The Great British Breaking Show has likely heard of the Victorian Sponge Cake. It’s what we, in modern day America, think of as regular cake, but at the time it was created and widely consumed by the Queen of England herself (that’s how it came to be in the name we know it as today, she loved the cake at tea time). It’s a simple cake, not flavored with anything, with a strawberry or raspberry filling with whipped cream. In some research on the cake, I actually found out its origins likely date back to the Renaissance and was perhaps even first created in Spain. Last night was the first time I’d ever made the sponge itself in its most traditional, basic sense with only a handful of ingredients. It used a large amount of baking powder, which kind of surprised me. The result was thicker than I thought it would have been, but it balanced nicely with what came next.
Of course, I am anything but traditional. So, instead of the berries and cream, I played around with what I have in my pantry and settled on a fruit that was in season, so I came up with: Victorian Sponge Cake with Spice Honey Pear and Walnut Compote and Cardamom Whipped Cream. And, without further adieu, here’s the recipe, because I don’t believe in making you read an entire novel before you see it. All I ask is that you get this far, politely laugh at some of my jokes, and then seriously consider recreating something.
Victorian Sponge with Spiced Honey Pear and Walnut Filling and Cardamom Whipped Cream

Sponge:
I adapted this simple recipe from a compilation of the traditional ones I found, but I also added vanilla because the idea of a cake without any kind of flavors sounded scary to me.
- 1 1/2 cups heavy cream
- 1/2 cup powdered sugar
- 1 tsp vanilla
- 1 tsp cardamom
Make the Cake:
Preheat the oven to 350 degrees, and grease your tin of choice with butter- also great to line it with parchment paper if you can swing it. This recipe will make two 8 inch rounds, as is the traditional method, but you can make it in an 8×8 inch pan, you can make it into a dozen cupcakes. Truly, the world is your oyster.
In a medium mixing bowl, whisk together the flour, salt, and baking powder. Separately, in the bowl of a stand mixer fitted with the paddle attachment, or in large mixing bowl with handheld mixture, cream together the sugar and butter until pale yellow and fluffy. Add the eggs one at a time, incorporating well after each addition. Add the milk and vanilla and mix until fully incorporated.
Add the flour mixture and mix until the moment you see no loose “powder” from the flour. Pour into the prepared pan of your choice and bake for 22-24 minutes, or until golden brown.
Make the Filling:
While the cake bakes, finely dice your pears and add to a saucepan. Add the remaining ingredients and cook over medium-high heat until the liquid starts to boil, then reduce the heat to medium and cook until the pears have broken down and are very soft, and the liquid in the pan has turned into a thick syrup. Bank on about 8-10 minutes after boiling, but it might be more depending on how much liquid you have in your pan.
Make the Whipped Topping:
In your stand mixer or with your hand mixer, beat the cream and vanilla on a low to medium speed until you don’t see air bubbles anymore. Add in the powdered sugar and cardamom and whip on a medium speed until you have stiff peaks (you can turn the bowl upside-down Dairy Queen Blizzard style and it won’t move), about 2-3 minutes. Watch carefully though, we don’t want to make butter! Once you see the stiff peaks, you have to stop!
Assemble:
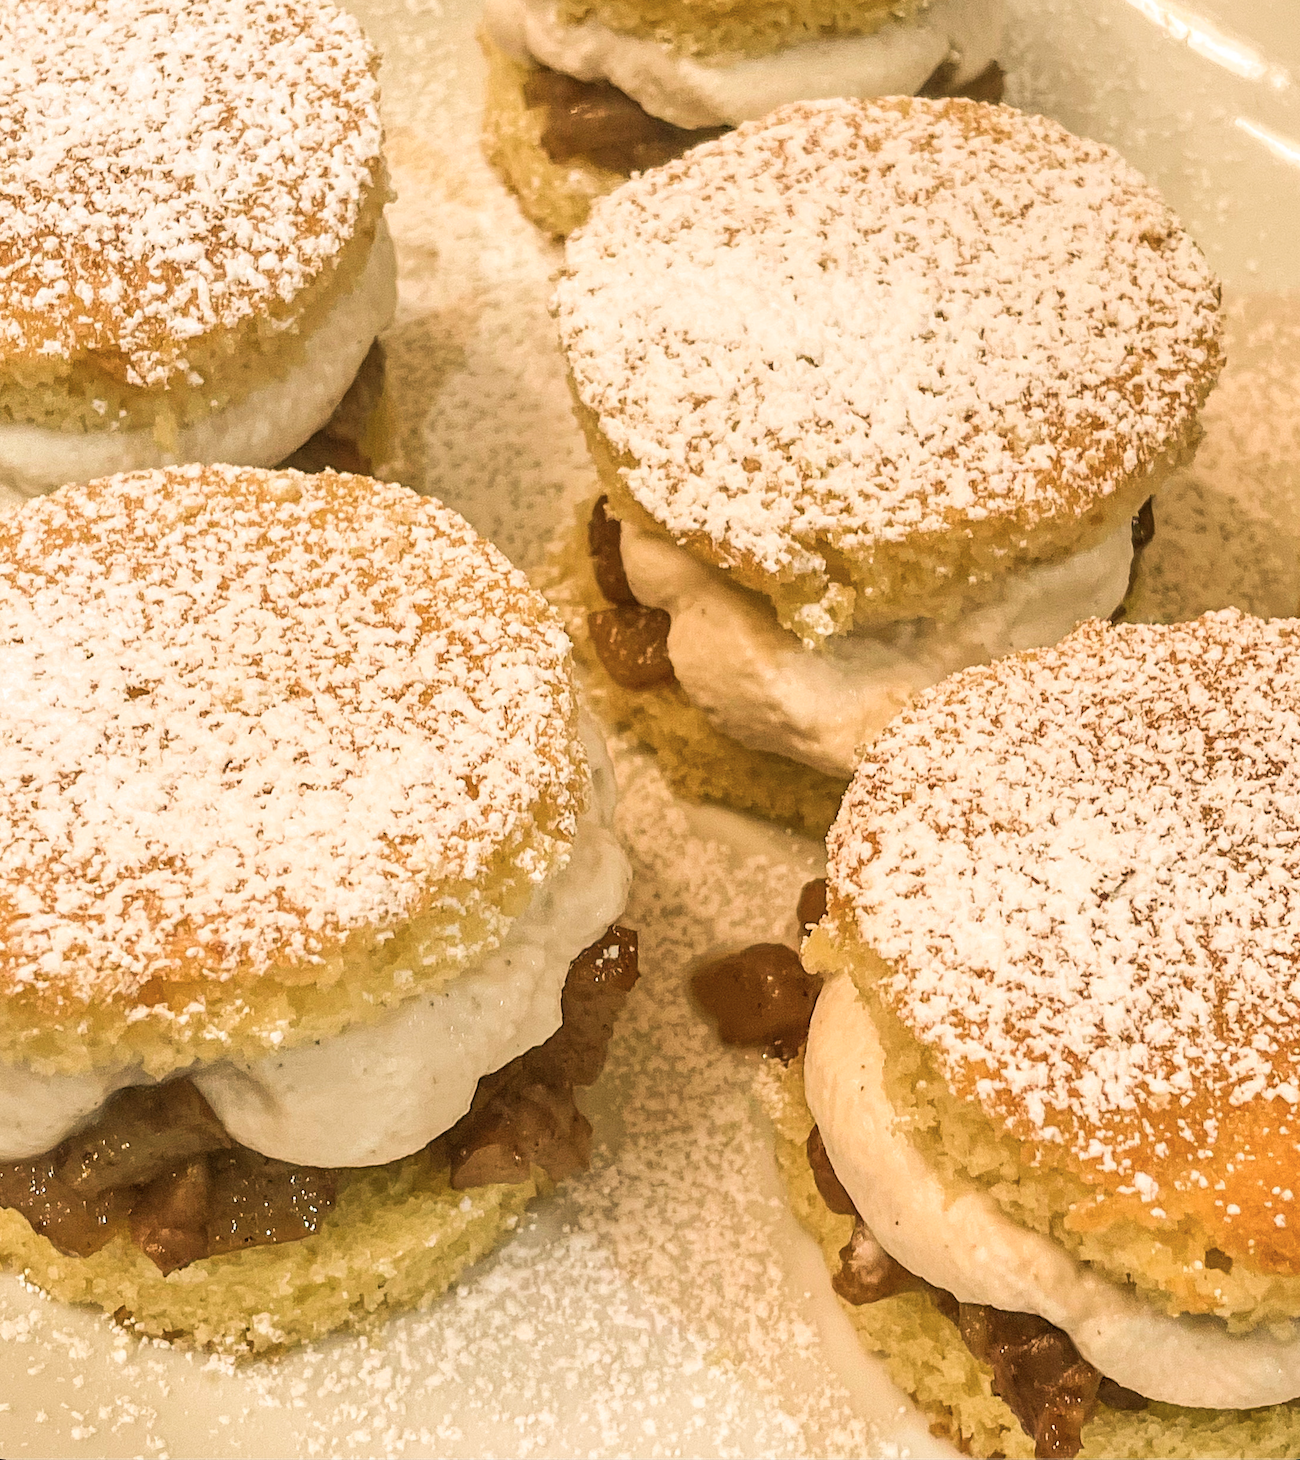
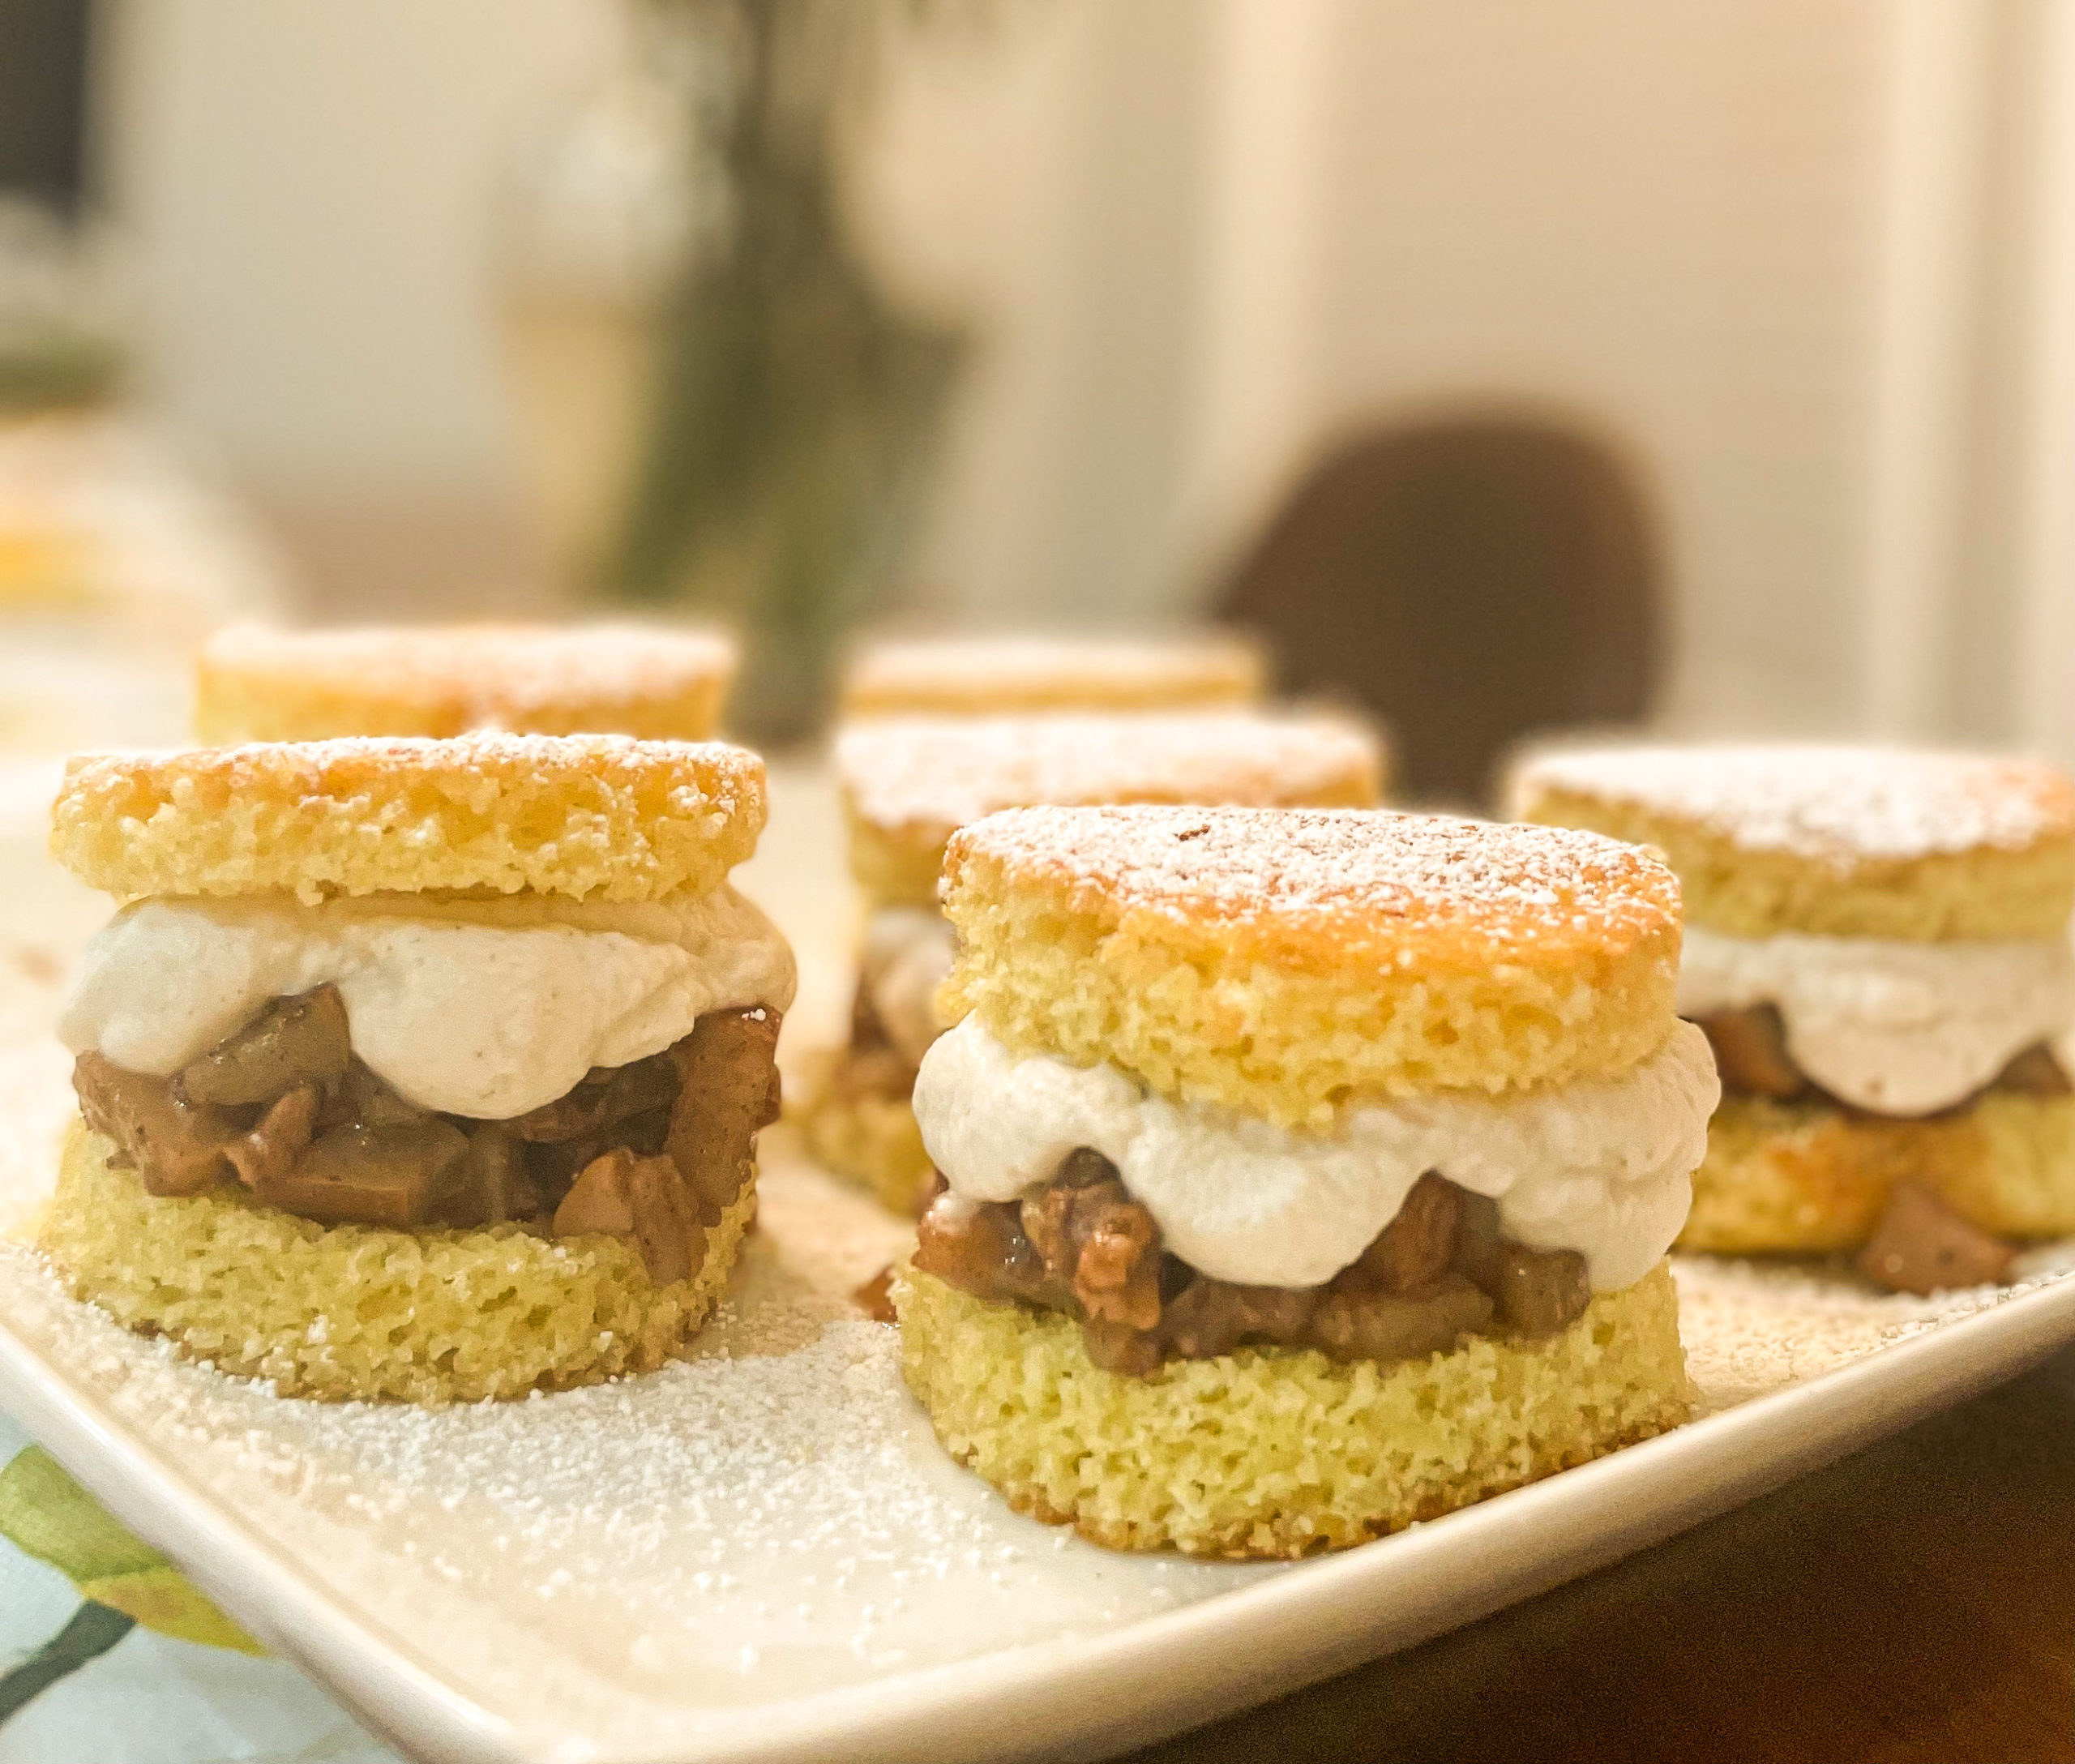
Once the cake is cooled, depending on what you cooked it in, you’ll have to slice the cake in two (a top and a bottom). If you did bake it in two pans, you saved yourself a step! I find it easier to cook and then cut, but I like both options. In the photos pictured here, I actually made an 8×8 cake, cut it into circles, and then halved those circles. Get to this step however, just make sure you have two ends of a sandwich to stick yumminess into. Spread your cooled pear filling on top of the bottom half of the sandwich, and spread the whipped cream on top of the fruit. Gently place the top of the cake back onto the cream to sandwich it all together, and dust the top of the cake with powdered sugar. Serve, turn on your favorite British television show, and enjoy!
- 12 tbsp of European Butter (any brand will do, as long as it’s Kerrygold) Learn more about why it needs to be Euro butter, softened
- 1 1/2 cups all-purpose flour
- 3 1/4 teaspoons baking powder
- 1/2 tsp kosher salt
- 3/4 cup plus 2 tbsp granulated sugar
- 3 large eggs, room temperature (important they are room temperature, otherwise it’ll chill your perfectly softened and fluffy butter)
- 3 tbsp milk
- 2 tsp vanilla extract
Filling:
- 3 pears, any variety
- 2 tbsp honey
- juice of one lemon
- 1 tbsp ground cinnamon
- 1 tsp ground nutmeg
- 1 tsp cardamom
- 1/2 tsp cloves
- 1/4 cup walnuts, broken into small bits and toasted at 325 degrees for 8-10 minutes
Whipped Cream:
- 1 1/2 cups heavy cream
- 1/2 cup powdered sugar
- 1 tsp vanilla
- 1 tsp cardamom
Make the Cake:
Preheat the oven to 350 degrees, and grease your tin of choice with butter- also great to line it with parchment paper if you can swing it. This recipe will make two 8 inch rounds, as is the traditional method, but you can make it in an 8×8 inch pan, you can make it into a dozen cupcakes. Truly, the world is your oyster.
In a medium mixing bowl, whisk together the flour, salt, and baking powder. Separately, in the bowl of a stand mixer fitted with the paddle attachment, or in large mixing bowl with handheld mixture, cream together the sugar and butter until pale yellow and fluffy. Add the eggs one at a time, incorporating well after each addition. Add the milk and vanilla and mix until fully incorporated.
Add the flour mixture and mix until the moment you see no loose “powder” from the flour. Pour into the prepared pan of your choice and bake for 22-24 minutes, or until golden brown.
Make the Filling:
While the cake bakes, finely dice your pears and add to a saucepan. Add the remaining ingredients and cook over medium-high heat until the liquid starts to boil, then reduce the heat to medium and cook until the pears have broken down and are very soft, and the liquid in the pan has turned into a thick syrup. Bank on about 8-10 minutes after boiling, but it might be more depending on how much liquid you have in your pan.
Make the Whipped Topping:
In your stand mixer or with your hand mixer, beat the cream and vanilla on a low to medium speed until you don’t see air bubbles anymore. Add in the powdered sugar and cardamom and whip on a medium speed until you have stiff peaks (you can turn the bowl upside-down Dairy Queen Blizzard style and it won’t move), about 2-3 minutes. Watch carefully though, we don’t want to make butter! Once you see the stiff peaks, you have to stop!
Assemble:
Once the cake is cooled, depending on what you cooked it in, you’ll have to slice the cake in two (a top and a bottom). If you did bake it in two pans, you saved yourself a step! I find it easier to cook and then cut, but I like both options. In the photos pictured here, I actually made an 8×8 cake, cut it into circles, and then halved those circles. Get to this step however, just make sure you have two ends of a sandwich to stick yumminess into. Spread your cooled pear filling on top of the bottom half of the sandwich, and spread the whipped cream on top of the fruit. Gently place the top of the cake back onto the cream to sandwich it all together, and dust the top of the cake with powdered sugar. Serve, turn on your favorite British television show, and enjoy!
[/et_pb_text][/et_pb_column][/et_pb_row][/et_pb_section]

